安装环境
# 安装uv,包管理器
curl -LsSf https://astral.sh/uv/install.sh | sh

# 创建python3.12环境
cd /data/
uv venv pyenv312 --python=3.12

# 激活环境
source pyenv312/bin/activate

# 安装certbot
uv pip install certbot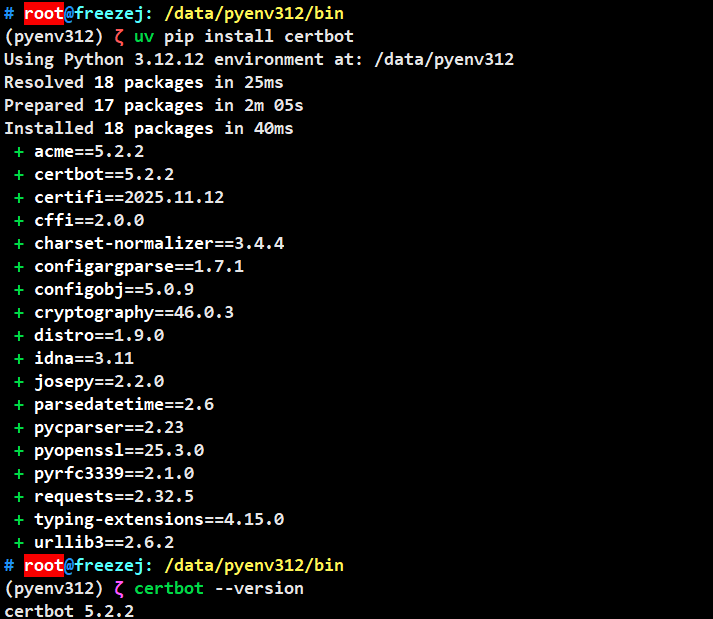
手动申请证书
certbot certonly -d "*.example.com" -d "example.com" --manual --preferred-challenges dns填写邮箱、同意条款后,按要求添加一条TXT解析后,生成证书到本地。
参考链接:https://www.runoob.com/http/ssl-certbot.html
自动更新证书(阿里云)
创建子账号
创建一个阿里云子账号,授权AliyunDNSFullAccess,管理云解析(DNS)的权限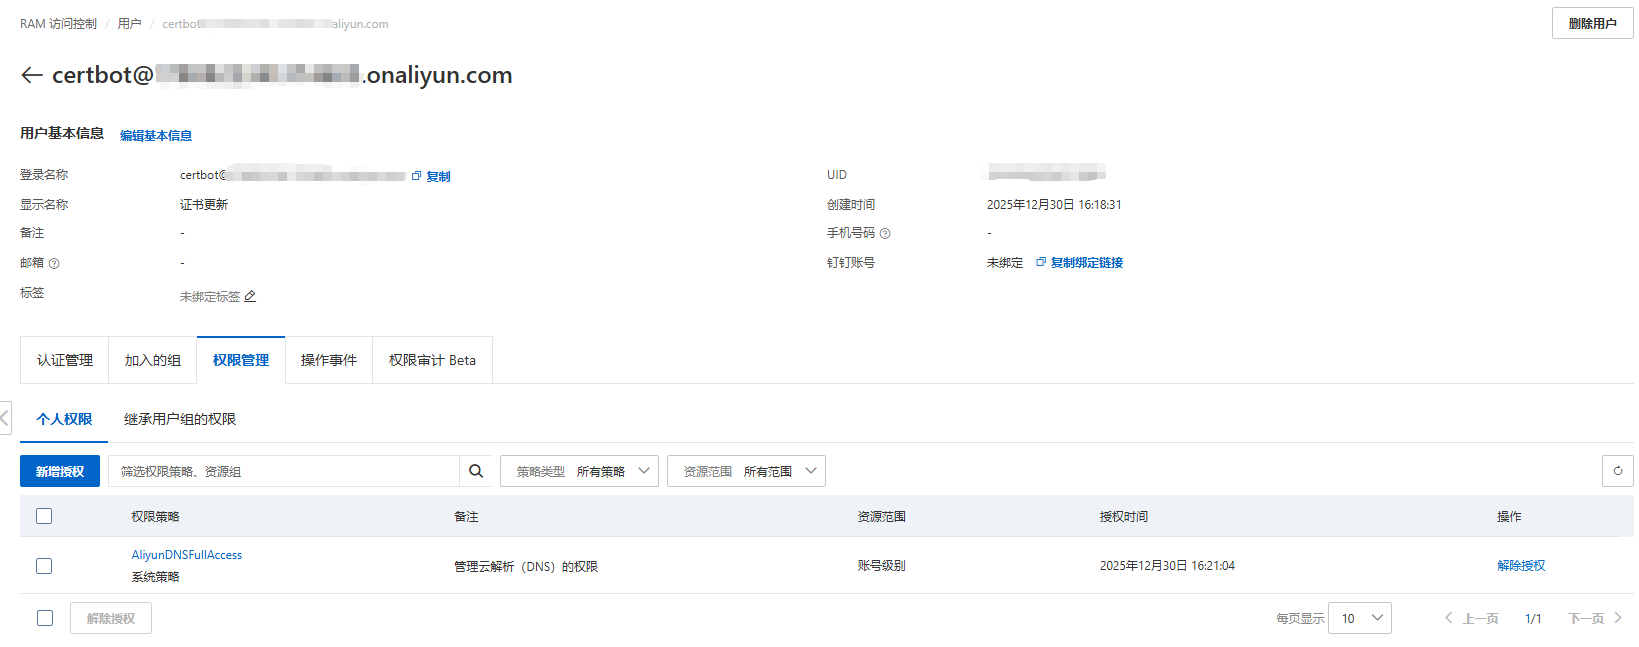
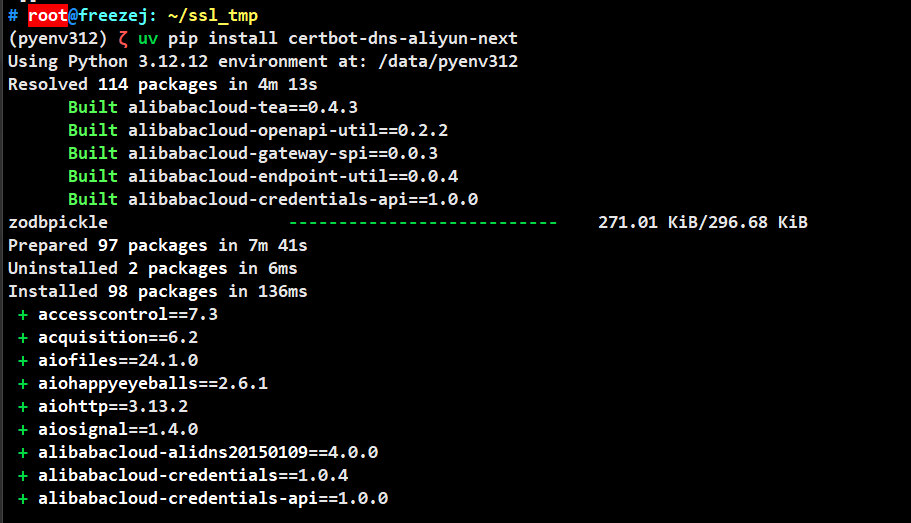
安装插件
激活环境:source /data/pyenv312/bin/activate
安装插件:uv pip3 install certbot-dns-aliyun-next
配置文件
# 替换ACCESS_KEY、SECRET_KEY后再执行
cat << EOF >> ~/aliyun.ini
dns_aliyun_next_access_key_id = ACCESS_KEY
dns_aliyun_next_access_key_secret = SECRET_KEY
dns_aliyun_next_region_id = cn-hangzhou
EOF
修改Nginx配置文件指向自动生成的证书
公钥:/etc/letsencrypt/live/example.com/fullchain.pem
私钥:/etc/letsencrypt/live/example.com/privkey.pem
更新证书脚本
添加脚本:vim /data/.renew_ssl.sh
#!/bin/bash
set -e

certbot certonly  \
  --force-renewal \
  --authenticator dns-aliyun-next \
  --dns-aliyun-next-credentials ~/aliyun.ini  \
  --dns-aliyun-next-propagation-seconds 30 \
  -d "*.example.com" \
  -d "example.com"

nginx -t && nginx -s reload手动执行脚本:bash /data/.renew_ssl.sh
检查证书过期时间:curl -vI https://www.example.com 2>&1 | grep "expire date"
自动更新证书
配置定时任务:crontab -e
2个月执行一次证书更新:0 0 1 */2 * bash /data/.renew_ssl.sh
赏
使用支付宝打赏
使用微信打赏
若你觉得我的文章对你有帮助,欢迎点击上方按钮对我打赏